May Day Madness
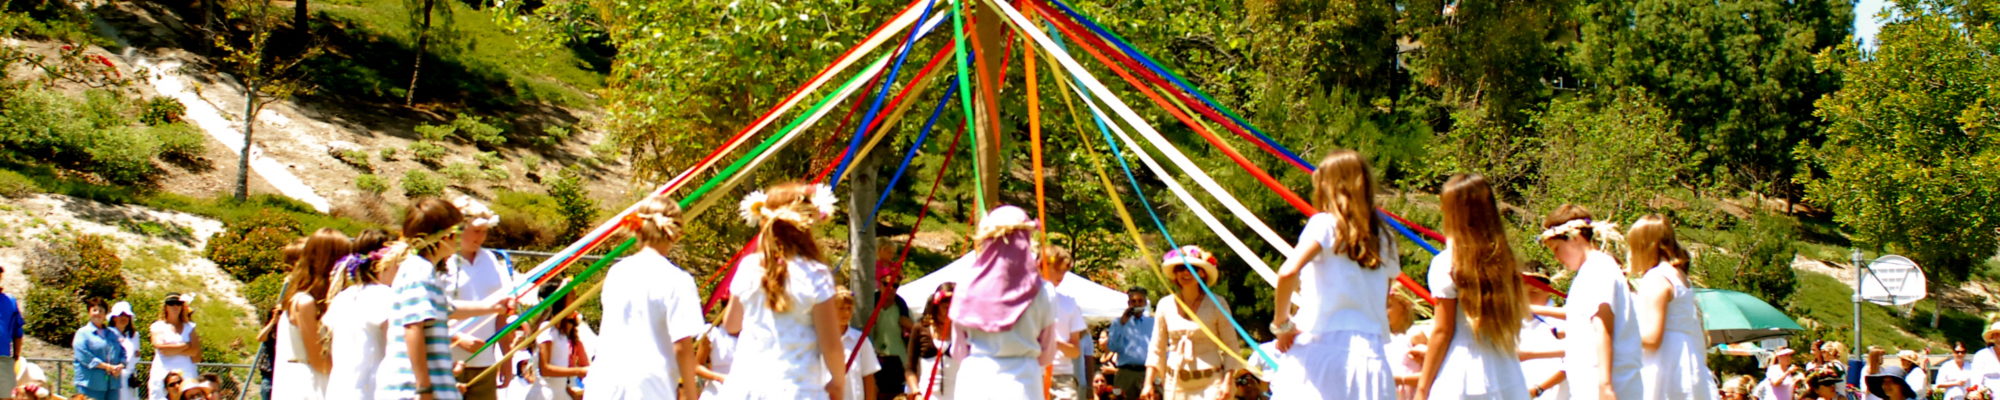
Well then ladies and gents, it’s May Day and you know what that means? Oh, no neither do we. We were hoping you could tell us since nobody here at Too Good To Be HQ seems to have a clue. All we really know is that it involves a pole, Morris dancing and most importantly…food. So in celebration of this, the most ambiguous of revelries, here are three tasty gluten free recipes that have no real link to the day, aside from the fact they are being posted on a day, in may. A May Day if you will…
Gluten Free Bakewell Tart
If you’ve never tried a Bakewell Tart then it’s high time you did something about it. This British classic works a treat with clotted cream or custard…or both.
Ingredients
PASTRY
- 100g of icing sugar
- 50g of ground almonds
- 250g of rice flour
- 1 tsp xanthan gum
- 1 pinch of salt
- 1 vanilla pod, seeds only
- 125g of unsalted butter
- 2 eggs
FILLING
- 300g of raspberry jam
- 250g of unsalted butter
- 250g of caster sugar
- 2 eggs, beaten
- 275g of ground almonds
- 1 vanilla pod, seeds only
- 50g of rice flour
- 1 pinch of salt
- 1 tbsp of Amaretto
Method
- Begin by making the pastry. Place all the dry ingredients in a blender and blitz until fully combined. Add the butter and blitz until the mixture resembles breadcrumbs
- Add the vanilla and beaten eggs and blitz until the mixture comes together to form a dough. Wrap the pastry in cling film and place in the fridge for 30–45 minutes to chill
- Meanwhile, make the frangipane filling. In a medium bowl, cream together the butter and sugar until light and fluffy. Gradually add the eggs, a little at a time, followed by the remaining ingredients, then whisk until smooth. Refrigerate until ready to assemble the tart
- Preheat the oven to 180°C/gas mark 4
- Roll the pastry between 2 sheets of cling film to the thickness of a £1 coin. Remove the top layer of cling film and upturn the pastry into a 10 inch tart tin. Press the pastry gently into the tin, then press the edges with your thumb to remove any excess
- Gently remove the cling film. Place the tart case in the freezer for 20–30 minutes, or until very firm. There is no need to blind bake gluten-free pastry
- Spread the raspberry jam over the base of the pastry. Dollop the frangipane filling on top of the jam and use a palette knife to smooth over the top. Scatter over the flaked almonds and bake for 40–45 minutes, or until the filling is firm and golden
- Leave the tart to cool slightly before turning out onto a serving plate
Gluten Free Red Velvet
The popularity of the red velvet has surged in recent years and we’re all for it! This recipe from Gluten Free Cuppa Tea is a corker…
Ingredients
FOR THE CAKE
- 115g dairy free spread (room temp)
- 400g granulated sugar (you can use caster sugar too here)
- 240ml vegetable oil
- 4 large eggs (room temp)
- 1 1/2 tbsps vanilla extract
- 1 tsp white vinegar
- 240ml buttermilk (mine is homemade)
- red gel food colouring (I use Dr Oetker Ultra Red Gel)
- 345g gluten free plain flour
- 1 tsp bicarbonate of soda
- 10g cocoa powder (ensure it is dairy free)
FOR THE ICING
- 100g dairy free spread (room temp)
- 220g dairy free cream cheese (I use Tofutti) (room temp)
- 500g – 600g icing sugar
- 1/4 tsp vanilla extract
Method
- Prepare your tins. Grease and line 2 round cake tins with parchment paper and preheat the oven to about 175C.
- Make your own dairy free buttermilk. Add 1 tbsp of white wine vinegar or lemon juice to 240ml of dairy free milk. Stir thoroughly and then allow to sit for 5 minutes. The ‘buttermilk’ will then be ready to use later in the recipe.
- Beat your dairy free spread till smooth and creamy then add your sugar and mix together until nicely combined.
- Add your oil and mix for a little longer, it doesn’t look all that pretty at this stage! (I use an electric hand mixer)
- Separate your 4 eggs and add the yolks along with the vanilla extract to your mixture. (Do keep your eggs whites for later) Mix until combined.
- Mix in both your food colouring and your vinegar. I actually used 2 full tubes of Dr Oetker Red Gel in this recipe and it came out lovely and red.
- Sift all your dry ingredients (flour, bicarbonate of soda, cocoa powder) into a separate bowl, then add your dry ingredients gradually in sections, alternating with your dairy free homemade buttermilk. Mix to combine, but importantly, don’t over mix at this stage.
- Next whisk your egg whites together until they become a little foamy. Fold these into your mixture which should thicken up. (Don’t worry if the cake mixture doesn’t look perfect at this stage, I find mine doesn’t always but sorts itself out in the oven!)
- Pour your batter evenly between two tins. (I actually put a very small amount of mixture into a cupcake case to bake too (for half the time) just so I can crumble it for decoration on top of the cake later.
- Bake for about 30 minutes (Check with a skewer to make sure it is cooked through).
- Once cooked allow to cool completely in their tins.
- In the mean time, make your icing. Beat your dairy free spread until a little smooth and creamy.
- Add your dairy free cream cheese and vanilla extract. Mix until smooth again (you could use an electric hand mixer here).
- Gradually add your sifted icing sugar. I add around 150g at a time and mix it in. The cream cheese mixture will absorb all the icing sugar each time. Continue to add icing sugar until it’s the right consistency for you (the icing will firm up once you have iced the cake and refrigerated it so it doesn’t have to be really stiff).
- To assemble your gluten free red velvet cake, place the first cake tier on your serving plate and spread with cream cheese icing. Sandwich with your top tier.
- Spread the rest of the icing all over the top and sides of the cake with a palette knife until it’s completely covered. (if it looks messy at first, don’t worry mine did!! Once you chill it a little the icing holds a lot better. You can even touch up your icing if you need to)
- I like to finish mine by crumbling some red velvet crumbs on top. (I mentioned making a little cupcake earlier to do this – it is optional though!)
Gluten Free Blondies
For those of you who don’t know, a blondie is a brownie but…shock horror…they’re blonde! Super gooey, delicious and full of white chocolate – what’s not to love!
Ingredients
- 150 g gluten-free flour
- 1 tsp gluten-free baking powder
- 1/2 tsp fine sea salt
- 200 g soya yogurt
- 1/2 vanilla pod, split lengthways and seeds scraped
- 2 tbsp honey, or maple syrup
- 250g light brown sugar
- 200g white chocolate, roughly chopped
Method
- Preheat the oven to 180°C/gas 4 and line a 23cm square brownie tin with baking parchment.
- Sift together the flour, baking powder and sea salt into a bowl.
- Combine the soya yoghurt, vanilla seeds and honey in a large bowl. Add the light brown sugar and mix until well combined.
- Gently fold the dry ingredients into the wet ingredients, then fold in the chopped dark chocolate.
- Pour the batter into the prepared brownie pan and evenly spread over the pan with a spoon or spatula. Bake in the oven for 30–35 minutes, until the top of the blondie is firm and brown. Remove from the oven and let the blondie cool completely in the pan. Cut into 12 pieces and serve.